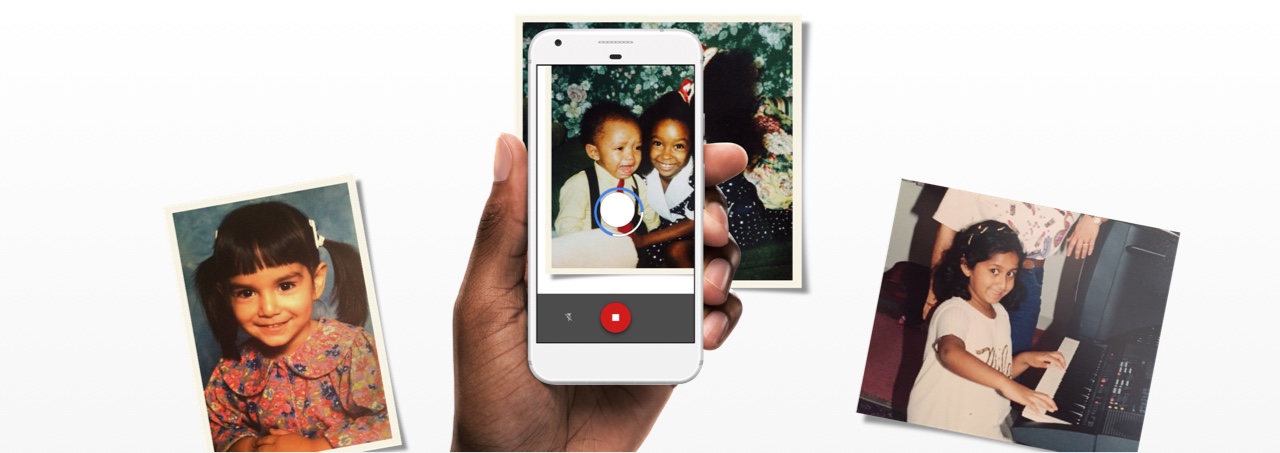
Over the years I have taken many pictures to capture various precious moments in my life, such as the birth of my children, their first steps, and the first day of school etc., and the memories captured in the pictures bring me great joy every time I look at them. I didn’t have a digital camera 15 years ago (let alone a smartphone with good camera feature), so all my pictures taken back then were developed on photo prints. Some of the photo are securely stored in various albums but the rest are randomly scattered in different boxes and it has been a big challenge to keep them sorted and organized. In recently years I have been trying to digitize all my photo prints in order to better organize them and share them with my family and friends, but have failed many times. The main reason of the failure is the lack of an efficient tool. I have tried using scanner to digitize the photo prints, but the process is slow, tedious and hard. The photo needs to be well aligned and you won’t see the result until the scanning is complete, which is a long process. Later when I have my smartphone I tried using my phone to take picture of the photo prints, but soon I found it’s even worse than using the scanner: the alignment, the glare, and the poor resolution, so I gave up again, until I came across Google PhotoScan. It is a mobile app developed by Google Photos team to help users to digitize their photo prints very easily, literally in one tap.
Here are some feature highlights:
- No glare at all!
- Automatic recognition of picture border so no need to worry about the perfect alignment
- Scanned photos can be saved to Google Photos for better organization and sharing
- Fast process. On the average I spend about 5 seconds to scan one photo
To scan your photo:
- Open the Google PhotoScan app (install it from Google Play or iTune App Store)
- Hold your phone directly above your photo, then tap the button to take a picture of the photo
- You will see 4 white dots appeared on the picture. Then move your phone around to get the circule over each of the dots
- PhotoScan will process the picture and give you a green check-mark on the screen once it’s finished
- You can edit the picture or delete it if not ideal
- Then you can save the pictures on your device (if you have Google Photos app, then the pictures will be auto-synced online)
It’s time to dig through my drawers and boxes to get more pictures for throwbacks. How about you?


