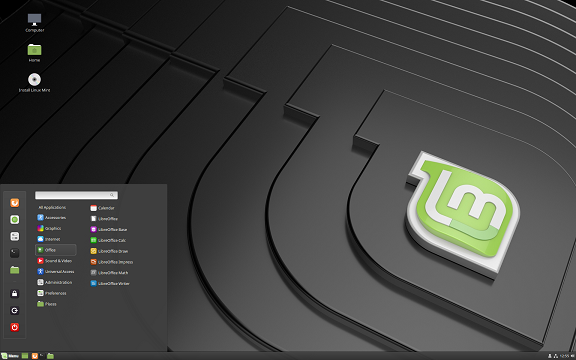
Linux Mint is a popular Linux distro and is based on Ubuntu LTS distribution. Recently, Linux Mint 19 was released, almost three months after the release of Ubuntu LTS 18.04, with many new features and I decided to give it a try, but the installation was not as smooth as I expected. First, I got an GRUB installation error: The ‘grub-efi-amd64-signed’ package failed to install into /target/. Without the GRUB boot loader, the installed system will not boot. After many trial-and-error experiments, I finally fixed the error and was able to install Linux Mint successfully (if you experience the same error and would like to know how I fixed it, please refer to my post here). I was happy, but my happiness didn’t last long.
When I tried to reboot my computer after the installation, my computer presented me with a black screen saying no bootable system is installed. It is very strange, considering I just successfully installed Linux Mint. After poking around for a couple of hours, I found the cause of the problem.
My computer supports UEFI mode and it seems that the Linux Mint installation failed to install the boot loader into the EFI partition, even though the installation completed successfully. And the fix is very simple, thanks to a wonderful tool called Boot-Repair. Here is how you fix the boot issue using Boot-Repair:
1). Use Linux Mint Live USB stick to boot up computer
2). Install Boot-Repair by using the following command:
sudo add-apt-repository ppa:yannubuntu/boot-repair

sudo apt-get update

sudo apt-get install -y boot-repair && boot-repair
3). Start Boot-Repair, click on “Advanced options”, go to the “GRUB location” tab.
4). If you do not see a “Separate /boot/efi partition” line, this means that your PC does not have any UEFI partition. In this case, exit Boot-Repair, then create an UEFI partition (see the “Creating an UEFI partition” paragraph above).
5). If you see a “Separate /boot/efi partition” line, tick it then click the “Apply” button.
After the repair is finished, you can boot up your computer without any error.
![[WinForm] How to dynamically add a drop down list in datagridview control](https://learningpenguin.net/wp-content/themes/customizr/assets/front/img/thumb-standard-empty.png)


Thanks, so, so much. The Linux Mint forum was absolutely useless. They are brainiacs, who, if you ask them for the time of day they provide you with instructions on how to build a clock. Your section on the Boot-Repair Tool, was all I really needed.
I am glad it helped you.
Thanks a million. It worked. I had an acer on which I did a Linux mint 18.3 install in UEFI mode, and then it showed No Bootable device on booting. I went to various sites, added shimx64.efi to the boot list but I had to go to firmware every other time and boot from there. This fixed it in a jiffy. Thanks again!!
even after installing it 3 times it didnt work and now i found this thanks
OMG! – I fixed Linux LMDE 4 simply by creating a 400 mb partition at the start of the drive.
But I only did this after trying different things through my day. It was baffling me as Mint 19 MATE installed without any “Invalid Drive” issues.
I did not have UEFI enabled in the Bios of my Dell 7440. Still don’t. But I did try enabling it, early on, and thought that I had a hardware issue. Lots and lots of futzing around on my part.
@Randy,
Thank you so much for sharing your experience!
Thanks a lot! This worked on my UEFI only BIOS and Linux Mint 20!
Go to diskmgr, (in Linux Ubuntu), select primary partition, edit partition, tick “Make Partition Bootable.” Reboot and partition table error will be gone and will boot to the OS.
Ubuntu Cinnamon Remix fixed this